Help with Custom CSS on a Form and Landing Page | Community
Skip to main content
New Participant
July 19, 2022
Solved

Help with Custom CSS on a Form and Landing Page

  • July 19, 2022
  • 1 reply
  • 7662 views

I am trying to add a new field to a form that contains custom CSS on a Landing Page with a JavaScript section that also contains form formatting. The person who created the original form and LP is no longer with the company. Adding the new field messes up the format. I'm not a coder and can't figure out how to make the form look right with the new field. I'm hoping that for someone who does know CSS and Marketo forms that it would be easy to spot what to do to fix this. If so, I'd be grateful for help. If it's not a simple solution that you can just provide here, feel free to let me know that. Thank you!
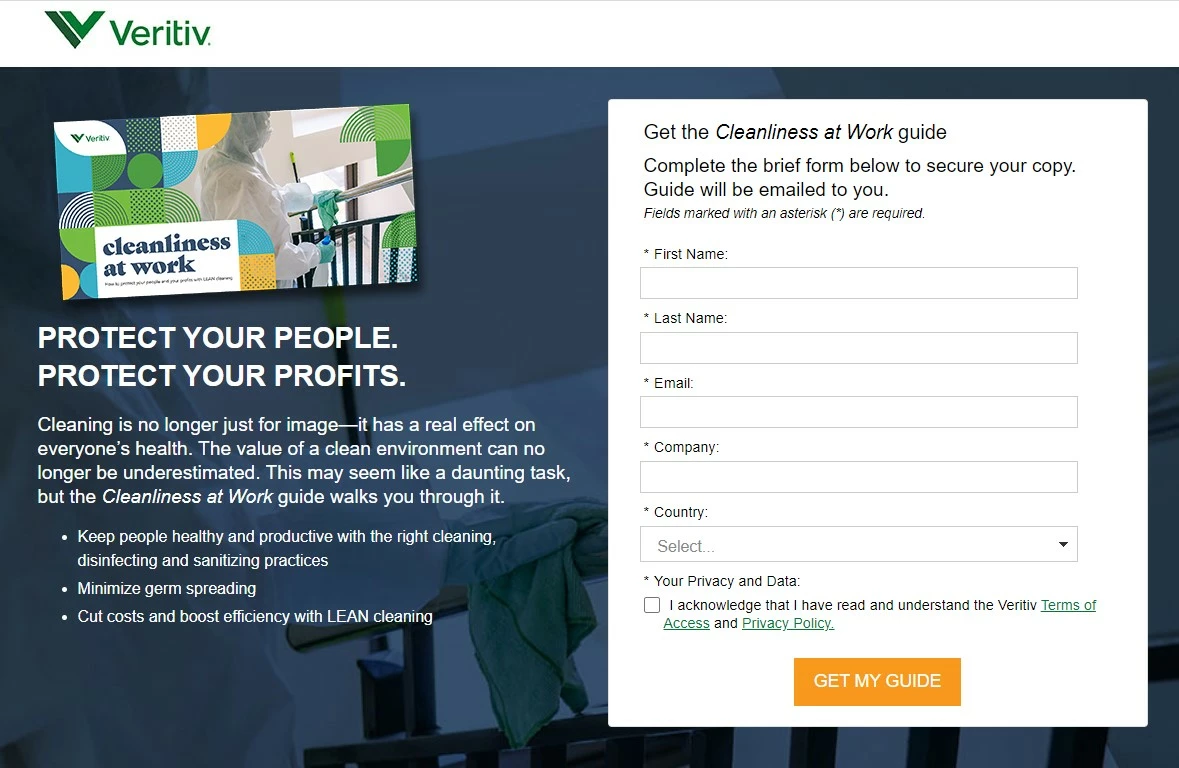
 

Original LP:

https://go.veritivcorp.com/Cleanliness-at-Work.html


Test LP with with a new field added to a copy of the form:
https://go.veritivcorp.com/Web-Content-1906-Cleanliness-at-Work-Guide-Download_LP-Request-copy.html


JavaScript Section in the LP (in the test LP, I replaced the original form ID with the new form ID - I got that far!):


<div> <script> // <![CDATA[ MktoForms2.whenReady(function(form){ vrtvMktoFormatting(); }); function vrtvMktoFormatting() { $('.mktoFormRow').each(function() { if ($(this).children('.mktoFieldDescriptor').length > 1 ){ if ($(this).children('.mktoFieldDescriptor').length == 2) { $(this).addClass("block-two"); } else if ($(this).children('.mktoFieldDescriptor').length == 3) { $(this).addClass("block-three"); } else { $(this).addClass("block-four"); } } }); $('#mktoForm_9288').addClass('vrtvMktoForm'); $('#mktoForm_9288').removeAttr('style'); $('.mktoForm input, .mktoForm textarea, .mktoForm label, .mktoForm .mktoFormCol, .mktoForm .mktoButtonWrap, .mktoRequired, select, mktoHasWidth').removeAttr('style'); $('.mktoForm').css('width', '100%'); $('.mktoOffset, .mktoGutter').remove(); $('label').addClass('mktoVrtvLabel').removeClass('mktoLabel'); $('input.mktoField, input.mktoTextField').removeClass('mktoField').removeClass('mktoTextField'); $('.mktoFieldWrap').removeClass('mktoFieldWrap'); $('.mktoFormCol').removeClass('mktoFormCol'); $('.mktoButtonRow').removeClass('mktoButtonRow'); $('.mktoForm button').addClass('as-b').removeClass('mktoButton'); }; MktoForms2.onFormRender(function (form) { vrtvMktoFormatting(); }); // ]]></script> </div>


Custom CSS in form:


input[type=checkbox], .mktoForm input[type=radio] { margin-top: 1rem !important; } @media screen and (max-width: 991px) { input[type=checkbox], .mktoForm input[type=radio] { margin-top: 2rem !important; } } @media screen and (max-width: 1199px) { input[type=checkbox], .mktoForm input[type=radio] { margin-top: 0rem !important; } }


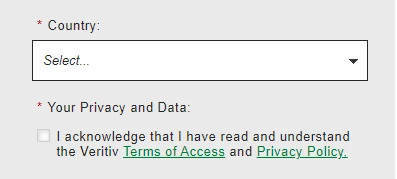
For reference, this is the way we want the new field to display on the form (not the gray background - just the placement of the form field and label):

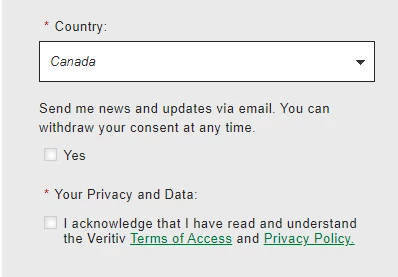
And this is what it looks like if Canada is selected as a Country on an LP where the form behaves as desired:


This post is no longer active and is closed to new replies. Need help? Start a new post to ask your question.
Best answer by Dave_Roberts

Hey Denise, 


Thanks for posting all the code and details here, it made it much easier to work thru and find a solution.


It looks like there's a few issues to work around here but I think I've got something for you that'll work for this situation. Overall the issue(s) seem to stem from using JS and CSS to override or remove the native classes to try and force something else to happen with the styling rather than working in harmony with what Marketo already provides. 


The CSS below is a combination of restoring the native checkboxes and removing some of the other overriding CSS to get this back to a happy place. I've added some /* comments */ inline above each piece of code to help give you an idea for what each piece is doing, but please let me know if you've got any specific questions about any of it. 


To get this to match the screenshot attached, you can open up this form in the form editor and add the following CSS to the bottom of the Custom CSS input (below anything that already exists on the form).  


/* restore native checkbox display */ .mktoForm input[type=checkbox] { opacity: 1; margin: 0px !important; float: left !important; margin-right: 10px !important; } /* hide fake checkbox element */ .mktoForm input[type=checkbox] + label:before { display: none !important; } /* get rid of negative top margin */ .mktoForm .mktoRadioList, .mktoForm .mktoCheckboxList { margin-top: 0px !important; padding: 0px !important; } /* indent checkbox label */ .vrtvMktoForm .mktoLogicalField label.mktoVrtvLabel { margin-left: 20px !important; } /* fix mobile label width issue */ .vrtvMktoForm label.mktoVrtvLabel { width: 100% !important; padding-bottom: 5px !important; margin-bottom: 0px !important; } .mktoAsterix { float: left !important; padding-left: 0px !important; padding-right: 5px !important; }


Here's a look at what I see when I put this CSS into the browser console for reference:


Let me know if there's anything else I can help sort out with this one or if something isn't rendering the way you'd expect once you get this setup on the form.


Thanks,
Dave

1 reply

Dave_Roberts
Dave_RobertsAccepted solution
New Participant
July 20, 2022

Hey Denise, 


Thanks for posting all the code and details here, it made it much easier to work thru and find a solution.


It looks like there's a few issues to work around here but I think I've got something for you that'll work for this situation. Overall the issue(s) seem to stem from using JS and CSS to override or remove the native classes to try and force something else to happen with the styling rather than working in harmony with what Marketo already provides. 


The CSS below is a combination of restoring the native checkboxes and removing some of the other overriding CSS to get this back to a happy place. I've added some /* comments */ inline above each piece of code to help give you an idea for what each piece is doing, but please let me know if you've got any specific questions about any of it. 


To get this to match the screenshot attached, you can open up this form in the form editor and add the following CSS to the bottom of the Custom CSS input (below anything that already exists on the form).  


/* restore native checkbox display */ .mktoForm input[type=checkbox] { opacity: 1; margin: 0px !important; float: left !important; margin-right: 10px !important; } /* hide fake checkbox element */ .mktoForm input[type=checkbox] + label:before { display: none !important; } /* get rid of negative top margin */ .mktoForm .mktoRadioList, .mktoForm .mktoCheckboxList { margin-top: 0px !important; padding: 0px !important; } /* indent checkbox label */ .vrtvMktoForm .mktoLogicalField label.mktoVrtvLabel { margin-left: 20px !important; } /* fix mobile label width issue */ .vrtvMktoForm label.mktoVrtvLabel { width: 100% !important; padding-bottom: 5px !important; margin-bottom: 0px !important; } .mktoAsterix { float: left !important; padding-left: 0px !important; padding-right: 5px !important; }


Here's a look at what I see when I put this CSS into the browser console for reference:


Let me know if there's anything else I can help sort out with this one or if something isn't rendering the way you'd expect once you get this setup on the form.


Thanks,
Dave

DeniseG2Author
New Participant
July 20, 2022

Hi @dave_roberts  - Thank you very much!! I will try this out in the morning and report back.